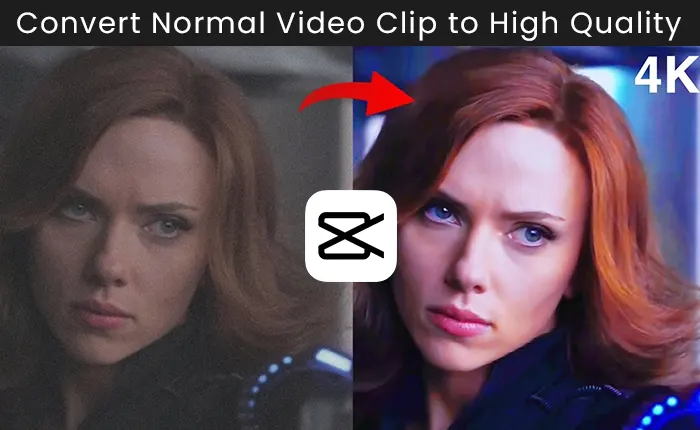
In today’s digital age, video content has become a crucial aspect of our lives, and it is essential to have high-quality videos for social media platforms, online courses, and presentations. In this article, we will guide you through the process of converting a normal video clip to high-quality using CapCut.

What is CapCut?
CapCut is a powerful video editing app that allows users to edit and enhance their videos with a range of features, including filters, music, text, and transitions. The app is easy to use, and it is free to download on both Android and iOS devices.
It also offers a range of video editing tools that can help users improve the quality of their videos, making them more engaging and professional.
Essential Tips for Converting Normal Video Clip to High Quality
Here are some tips that can help you convert your normal video clip to high quality with CapCut:
- Always import the highest quality video clip you have available to ensure the best possible results.
- Use filters and adjustments to adjust the color, brightness, and contrast of your video.
- Add text and music to make your video more engaging and professional.
- Export your video in the highest quality possible to ensure it looks its best.
Video Tutorial
How to Convert Normal Video Clip to High Quality in CapCut
Please follow the below guide with easiest step by step points:
Step#1: Import the Video Clip
The first step is to import the video clip you want to edit into CapCut. To do this, open the app and tap on the “+” icon in the bottom center of the screen. You can then select the video clip you want to edit from your camera roll.
Step#2: Apply Filters
Once you have imported the video clip, you can enhance its quality by applying filters. CapCut offers a range of filters that can help you adjust the color, brightness, and contrast of your video. To apply a filter, tap on the “Filters” icon located at the bottom of the screen and select the filter you want to apply.
Step#3: Adjust the Brightness and Contrast
You can also adjust the brightness and contrast of your video clip to improve its quality. To do this, tap on the “Adjustments” icon located at the bottom of the screen and use the sliders to adjust the brightness and contrast of your video.
Step#4: Add Text and Music
To make your video more engaging, you can add text and music to it. CapCut offers a range of text and music options that you can use to add a professional touch to your video. To add text, tap on the “Text” icon located at the bottom of the screen and select the style you want to use. To add music, tap on the “Music” icon and select the song you want to use.
Step#5: Export the High-Quality Video
Once you have made all the necessary adjustments and enhancements to your video clip, you can export it as a high-quality video. To do this, tap on the “Export” icon located at the bottom of the screen and select the quality you want to export your video in.
This app also offers a range of quality options, including 720p and 1080p, which can help you create high-quality videos for social media platforms, online courses, and presentations.
Last Words
In conclusion, by following the above given tips you can easily transform normal video clips to high quality. By following the steps outlined in this article, you can enhance the quality of your videos and create engaging and professional content for social media platforms TikTok, YouTube, Facebook, Instagram etc.